
How to Set Up Your Brand in Canva

Creating a consistent, recognizable brand doesn’t require expensive software. That’s where Canva comes in, wearing a beautifully designed cape. Canva makes it easy to build and maintain a polished brand system, whether you’re a small business, nonprofit, or multi-person creative team. Below, we’ll walk you through setting up your brand in Canva so everything you create looks cohesive and on-brand.
Step 1: Define Your Brand Basics (Before You Open Canva)
Before jumping into Canva, take a moment to clarify your brand foundation. This will make the setup faster and more intentional.
Have these ready:
- Brand name & tagline
- Primary logo (and any alternates)
- Brand colors (hex codes if possible)
- Fonts (or font styles you like)
- Brand personality (e.g., bold, playful, professional, minimal)
Step 2: Create or Access Your Brand Kit

Canva’s Brand Kit is where all your brand assets live.
- Log in to Canva
- From the homepage, click Brand in the left-hand menu
- Select Brand Kits
- Click Create a Brand Kit (you can create multiple if you manage more than one brand)
Hint: Name your brand kit clearly, especially helpful if you’re working with a team.
Step 3: Upload Your Logo(s)
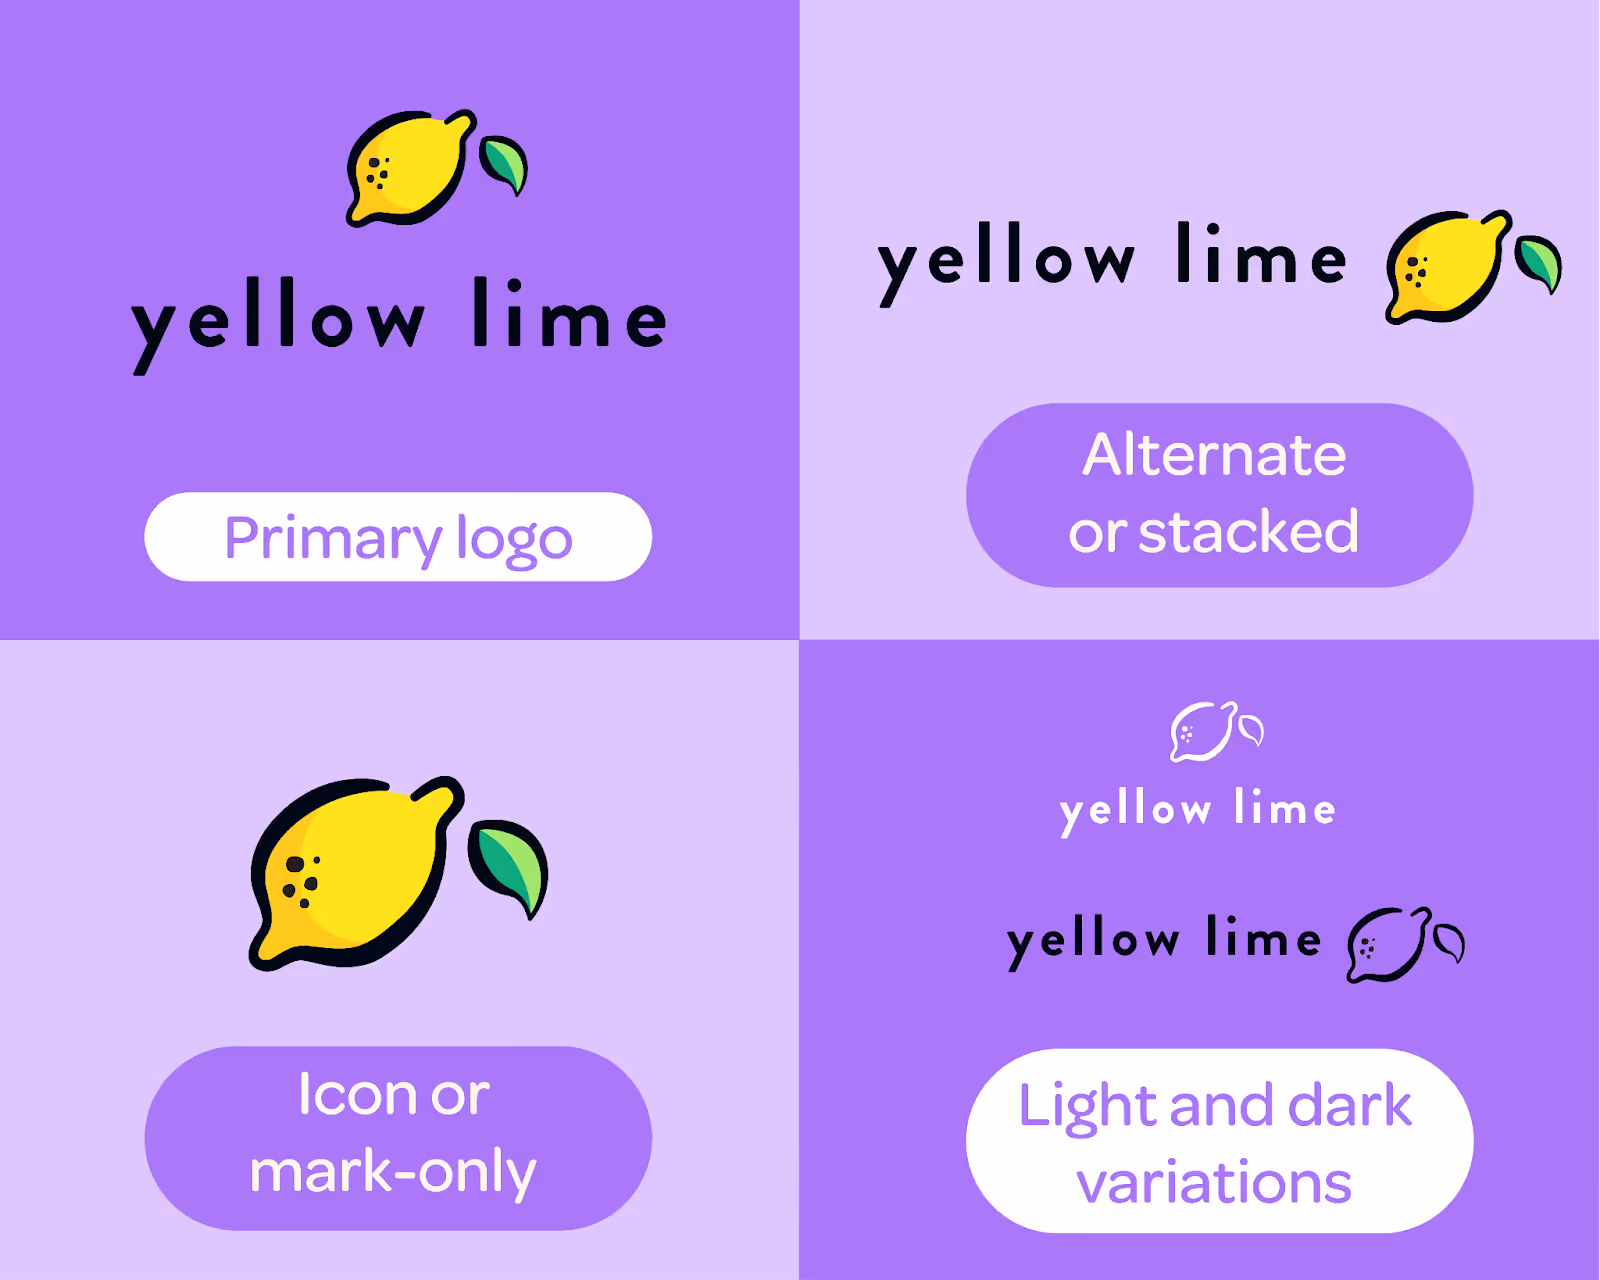
Inside your Brand Kit, start by uploading your logo files.
Best practice:
- Primary logo
- Alternate or stacked version
- Icon or mark-only version
- Light and dark variations (if you have them)
The best part? Canva will automatically make these accessible while you design, so you don’t have to re-upload them every time.
Step 4: Set Your Brand Colors

Next, define your color palette.
- In the Brand Kit, go to Brand Colors
- Add your primary colors first
- Then add secondary and neutral colors
- Use hex codes for accuracy
Canva will automatically surface these colors in the color picker, helping you stay consistent across designs.
Hint: Limit your palette to 3–5 colors to avoid visual clutter.
Step 5: Choose and Apply Brand Fonts

Typography (the font you use) plays a huge role in brand recognition.
- In your Brand Kit, scroll to Brand Fonts
- Set fonts for:
- Headings
- Subheadings
- Body text
- Choose fonts that reflect your brand personality and are easy to read
Want to be elite? If you’re on Canva Pro, you can upload custom fonts to match your existing brand guidelines. This will take your designs to the next level.

Step 6: Organize Only What You Need

At this stage, keep organization simple:
- Make one folder for logos
- Make one folder for brand graphics or photos
- Keep your Brand Kit as the single source of truth
You can always add more structure later as your brand grows.
Feeling Ready to Design?
Setting up your brand basics in Canva, logos, colors, and fonts, creates a strong foundation for everything you design.
You don’t need a perfect system or dozens of templates to look professional. Start simple, stay consistent, and let Canva support you.
Once your basics are locked in, every design becomes faster, easier, and more on-brand.
And hey, if you need a little extra help taking things up a knotch, you know who to call 🍋
More Stories
5 Ways to Get Inspired When You’re Feeling Stuck

West Michigan Spots We Love
